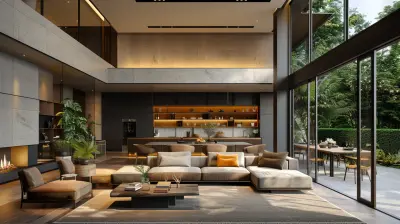
How to Prepare Your Home for a Virtual Tour in 2026
9 September 2026
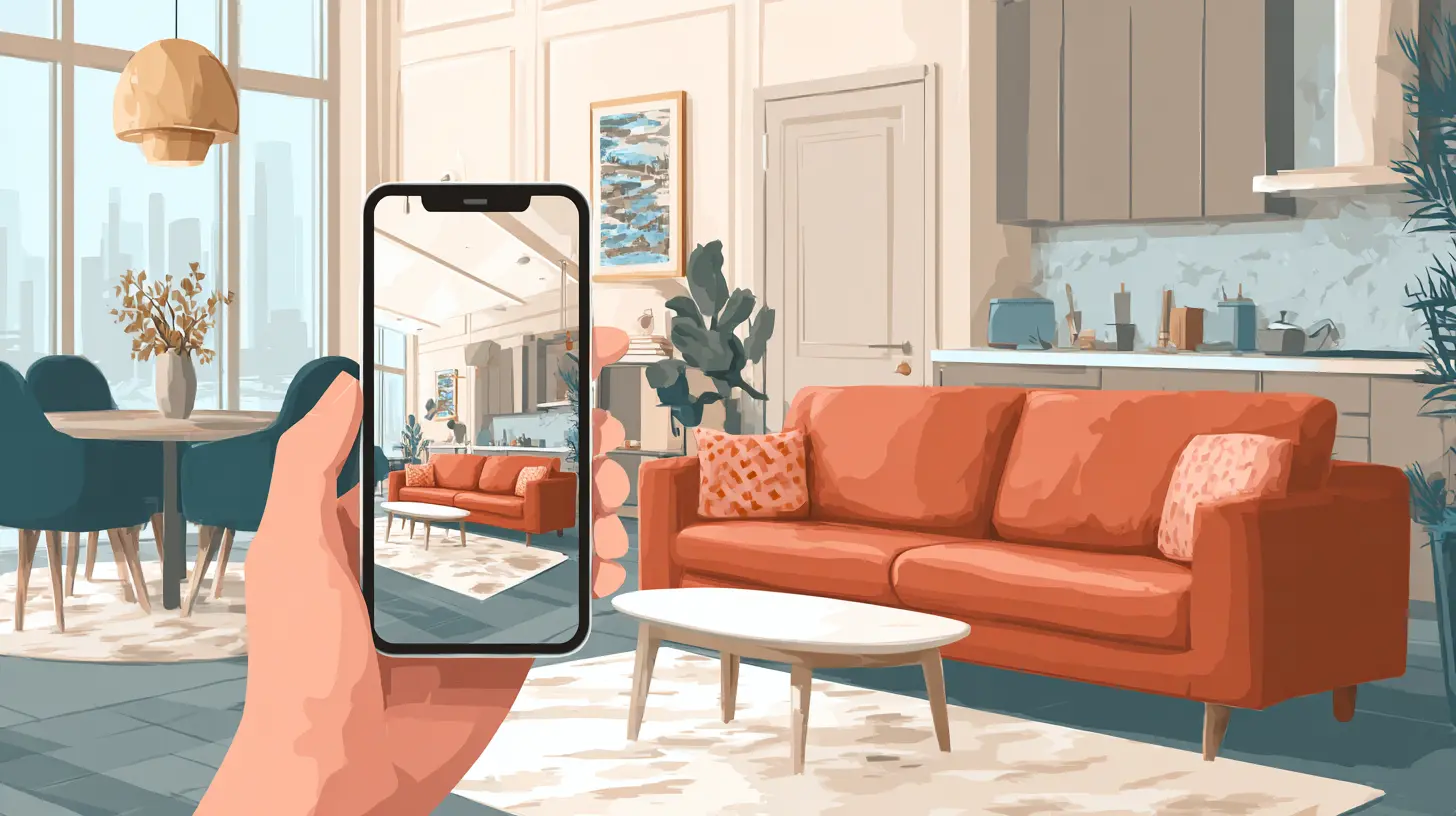
The real estate landscape has shifted permanently. Buyers no longer want to waste a Saturday driving across town to see a house that looks nothing like the listing photos. The virtual tour, once a novelty, is now the first serious filter in the buying process. By 2026, the technology will be even more immersive, but the fundamentals of preparation remain rooted in psychology, physics, and light.
Most sellers make a critical error: they treat a virtual tour as a simple video walkthrough. They think cleaning and turning on the lights is enough. That approach fails. A virtual tour in 2026 is an interactive, spatial experience. Viewers are not passively watching; they are navigating, zooming, and judging scale from their couch. Your preparation must account for how the camera moves, how light renders, and how sound influences perception.
This is not about staging for a photo. It is about staging for a lens that never blinks and a viewer who can pause and inspect a baseboard. Here is a deep, practical guide to getting your home ready for the most important digital showing of its life.
The 2026 Viewing Reality: Why Preparation Has Changed
To prepare correctly, you must understand the medium. In 2026, the standard is no longer a static 360-degree panorama. The cutting edge involves neural rendering and photorealistic 3D models that allow buyers to virtually "walk" through the home with a mouse or VR headset. They can turn their head, look up at the ceiling, and even toggle between different lighting conditions in some high-end platforms.
This changes the rules of engagement. A minor flaw that might have been missed in a 30-second video clip is now a persistent artifact. The viewer controls the pace. If they want to stare at the caulking around the bathtub for ten seconds, they will. This level of scrutiny demands a level of preparation that borders on obsessive.
the integration of AI in listing platforms means that the system itself analyzes your tour. Algorithms can detect if rooms are too dark, if there is clutter that creates visual noise, or if the tour has gaps where the camera skipped a space. A poor-quality virtual tour does not just look bad to humans; it may be ranked lower or flagged as low-quality by the portal itself. Preparation in 2026 is about satisfying both the human eye and the algorithmic gatekeeper.
Step One: The Technical Audit Before the Physical Clean
Before you move a single piece of furniture, check your home's technical readiness for a professional-grade capture. This is the most overlooked aspect of preparation.
Lighting Temperature and Color Cast
Most interior lighting is a mix of warm (2700K-3000K) and cool (4000K-5000K) bulbs. Your eye adjusts instantly, but a camera sensor struggles. This creates a yellow-blue mess on screen. The fix is not just turning on all the lights; it is unifying the color temperature.
Walk through your home with a critical eye. Replace any bulb that does not match its neighbor. In 2026, smart bulbs are cheap and ubiquitous. Set every bulb in a single room to the same temperature, ideally around 3500K to 4000K, which renders neutrally. Warmer light (2700K) makes whites look dirty. Cooler light (5000K) makes wood tones look sterile and green.
Do not rely on natural light alone. A bright sunny day with harsh shadows is a nightmare for HDR stitching in a 3D tour. The camera will struggle to blend the bright window exposure with the dark interior corner. The best time to shoot is an overcast morning, but you cannot control the weather. Therefore, you must control the interior. Turn on every lamp. If you have dimmers, set them to 100 percent. The goal is to reduce the contrast ratio between the window and the wall so the camera can capture detail in both.
The Floor Plan and Sensor Path
A professional virtual tour requires a clear path for the camera. This is not just about walking space; it is about the line of sight. The camera captures a sphere. If you have a large dining table in the center of the room, the camera cannot get close to the walls. It will have to shoot from the doorway, making the room look small and distorted.
In 2026, the best practice is to create a "camera corridor." This is a clear, unobstructed path around the perimeter of each room, roughly three feet wide. Move furniture away from the walls by at least six inches if possible. This allows the camera to get closer to the wall, reducing the wide-angle distortion that makes rooms look like funhouse mirrors.
Forget about how the room looks from standing height. Think about how it looks from a lens positioned at four feet off the ground. That is the standard shooting height. Get on your knees and look around. You will see the underside of chairs, the dust on the floor, and the clutter under the sofa. These are the things that will be visible in the tour.
Step Two: Decluttering for the Spatial Eye
Standard decluttering advice is about visual tidiness. Spatial decluttering is about data and scale. The 3D camera reconstructs your room using depth sensors and visual data. Clutter confuses this process.
The "Data Noise" Problem
Too many small objects, such as collections of knick-knacks, family photos, and stacks of magazines, create "data noise." The camera sees thousands of edges and corners. When the software compresses this data, it can create visual artifacts, like shimmering edges or a "wet paint" effect on surfaces. This is not just ugly; it makes the tour feel unstable and low-quality.
Remove anything smaller than a shoebox from surfaces. This includes books on shelves. Leave only 70 percent of the shelf space filled. The empty space gives the eye a place to rest and allows the camera to render the depth of the shelf correctly. A fully packed bookshelf in a virtual tour looks like a solid, flat block of color because the camera cannot resolve the individual spines.
Furniture Scale and Negative Space
Buyers are not just looking at your home; they are measuring it against their furniture. In a physical showing, they can feel the space. In a virtual tour, they have to guess. Your job is to make the space look larger, not just cleaner.
Remove oversized furniture that dominates the room. That massive sectional that fits perfectly in your living room will look like a mountain in a virtual tour. It eats up the negative space, making the room look tiny. For the tour, consider renting a smaller sofa or moving the sectional to create a more open flow. The camera exaggerates size. A piece of furniture that takes up 30 percent of the floor in reality will look like it takes up 50 percent in a virtual tour because of the lens distortion at the edges.
Step Three: The Art of Depth and Flow
A virtual tour is a sequence of static positions. The transition between these positions is where the magic happens. You want to create a sense of flow that guides the viewer logically through the home.
The "V" Shape for Entry
When a viewer clicks to move from the hallway into the living room, the camera drops them at a specific point. The best placement is usually in the doorway or just inside the room. This is where you need to arrange the furniture to create a "V" shape leading the eye to the focal point, usually a window or a fireplace.
Do not place the back of a sofa facing the entry point. This creates a visual wall. Instead, angle the sofa or place a console table against the far wall. The goal is to have the camera capture a clear path from the entry point to the opposite corner of the room. This makes the room feel deep and inviting.
Hiding the "Tech" Life
In 2026, homes are smart. But a smart home looks terrible in a virtual tour. Those smart speakers on the counter, the router on the bookshelf, the nest hub on the nightstand - they all scream "electronics." They break the illusion of a calm, clean sanctuary.
Remove them. All of them. Hide the TV if you can, or at least ensure the screen is clean and shows a neutral ambient background. A black screen is a void in the tour. A TV with a static image looks cluttered. If you cannot remove the TV, turn it on to a screensaver with a soft, moving image, but ensure it does not flicker. Some high-end tours in 2026 allow for "active" screens, but it is safer to just unplug it and cover it with a decorative screen or a large piece of art if it is a central piece.
Step Four: The Kitchen and Bathroom Specifics
These two rooms make or break a sale. They are also the hardest to capture well.
The Kitchen: The "Clear Counter" Dictum
You have heard it before: clear the counters. But in a virtual tour, the counter is the star. In 2026, high-end renders can show micro-detail, like the texture of the quartz. If your counter is covered with a toaster, a coffee maker, a knife block, and a fruit bowl, the camera cannot show the material. You are paying for that counter; let it be seen.
Remove everything except a single, small, intentional item. A small cutting board with a bowl of lemons is acceptable. A vase with a single branch is better. The goal is to show scale without clutter. Also, check the backsplash. The grout lines must be clean. The camera picks up the contrast between the tile and the grout, and dirty grout looks like dark cracks.
The Bathroom: The "Dry" Illusion
Bathrooms are tricky because of reflective surfaces and water marks. Before the tour, dry every surface completely. Run the shower to warm the room and then wipe down the glass, but do not leave water droplets. Droplets on a glass shower door become large, distracting circles in a 3D render.
Close the toilet lid. This is non-negotiable. A toilet bowl is a dark, reflective hole that distorts the camera's flash and creates an ugly shadow. Fold towels into perfect thirds. Hang them so they are straight. Do not leave a bath mat on the floor if it is not perfectly aligned. The camera will amplify the misalignment.
Step Five: The Exterior and Entry Sequence
The virtual tour does not start inside. It starts at the curb. The first point of the tour is often a 3D scan of the front exterior. This is your chance to set the tone.
The "Approach" Psychology
The viewer sees the front of the house, then clicks to the front door. This transition is critical. The path from the street to the door must be immaculate. Power wash the walkway. Trim the hedges so they do not touch the house. Repaint the front door if it is chipped.
But more importantly, check the lighting at the front door. In 2026, the tour software will often blend the exterior shot with the interior shot. If the exterior is bright and the interior is dark, the transition is jarring. Open all the blinds and curtains in the front rooms. Turn on every light in the foyer. The goal is to make the interior brightness match the exterior brightness as closely as possible.
Step Six: Sound and the Silent Narrative
Most virtual tours are silent, but many platforms now allow for a voiceover or ambient audio. If you are adding audio, do not use a real estate agent's scripted narration. That sounds like a commercial.
Instead, consider no audio at all. Let the viewer create their own narrative. If you must add audio, use a low-volume, ambient soundscape that matches the home. For a beach house, soft waves. For a city apartment, a distant hum. But be careful. A sound that is too noticeable becomes a distraction. The best 2026 tours are silent, allowing the visual detail to do the talking.
Common Mistakes and Misconceptions
Mistake: Over-editing the video. If you are using a standard video tour, do not use heavy filters. Buyers want to see the truth. A "golden hour" filter that makes the living room look like a sunset will cause disappointment when they see the actual home.
Mistake: Shooting on a cloudy day with all lights off. This creates a dark, moody tour that hides flaws but also hides the home's potential. You want bright, even lighting that looks like a high-end architectural magazine, not a dim, mysterious cave.
Misconception: "My phone camera is good enough." In 2026, phone cameras are excellent. But they do not have the specialized depth sensors and stitching software of a dedicated 3D camera (like a Matterport or similar). A phone video tour is a flat, linear experience. A 3D tour is an interactive one. The latter will become the standard for any home priced above the median. If you are selling a high-value home, hiring a professional with a 360 camera is not optional.
Misconception: "Staging is only for vacant homes." Staging for a virtual tour is about subtraction, not addition. If you have lived in the home for years, you have too much stuff. You must detach emotionally and see your home as a product.
The Final Walkthrough Checklist
Before the photographer arrives, do a final check.
- Walk the camera path yourself. Look for anything that creates a shadow. A lamp cord running across the floor will cast a shadow that looks like a crack in the virtual tour. Tape all cords to the baseboards or hide them under rugs.
- Check all ceiling fans. Turn them off. A moving fan creates a blurry artifact in the 3D render.
- Check the mirrors. A mirror reflects the camera and the photographer. In a 3D tour, the mirror will show a distorted image of the room, which can be disorienting. The best practice is to remove large mirrors or angle them so they reflect a wall, not the center of the room.
- Open all interior doors. A closed door is a dead end. Viewers will try to click on it. If it is closed, they will think it is a closet. Open it and show the room.
- Close all toilet lids.
- Turn on all lights.
- Remove all pet bowls, litter boxes, and pet beds. The smell is not an issue, but the visual is. A pet bed is a signal that the home has animal wear and tear.
- Finally, clean the windows from the inside. The camera will see the dirt on the glass, especially when the light hits it at an angle.
The Aftermath and the Listing Strategy
Once the tour is captured, you must review it. Do not just glance at it. Watch it from start to finish on a large screen. Navigate into every corner. If you see a shoe under the bed in the master, it is too late to reshoot without cost. This is why the preparation phase is more critical than the shooting phase.
A well-prepared virtual tour in 2026 is not just a marketing tool; it is a trust signal. It tells the buyer that the seller cares about the details and has maintained the property. A sloppy tour, one with dark corners and cluttered counters, signals neglect. In a market where buyers are increasingly remote and time-poor, the virtual tour is your only chance to make a first impression. Make it count.
The shift toward immersive technology means that the physical flaws you ignore will be the exact reason a buyer swipes left on your listing. Take the time to prepare for the lens, and the lens will reward you with a faster sale and a stronger offer.
all images in this post were generated using AI tools
Category:
Selling A HomeAuthor:

Lydia Hodge
Discussion
rate this article
2 comments
Ranger McPhail
Preparing your home for a virtual tour requires attention to detail. Ensure your space is clean, well-lit, and decluttered. Consider using fresh paint and staging furniture to enhance appeal. Finally, highlight unique features to captivate potential buyers in the digital space.
September 15, 2026 at 3:21 AM
Chloe Watson
Ensure good lighting, declutter spaces, and highlight key features for an engaging virtual tour.
September 10, 2026 at 2:37 AM